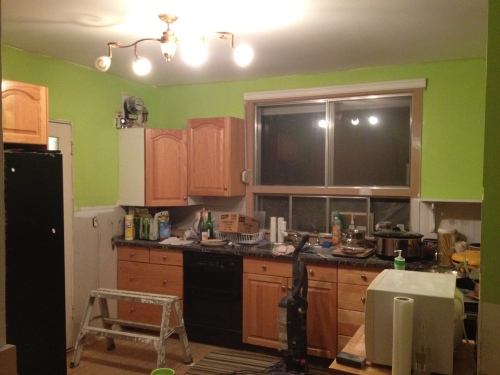
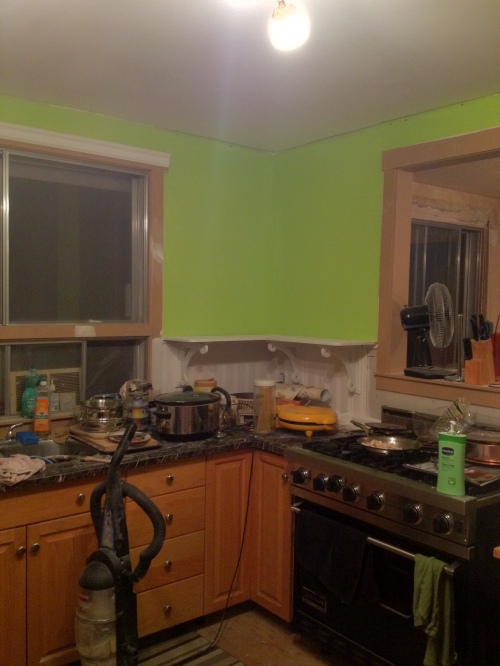
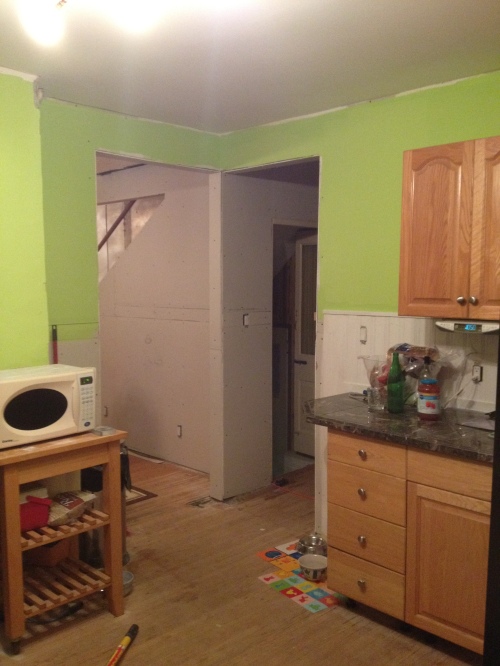
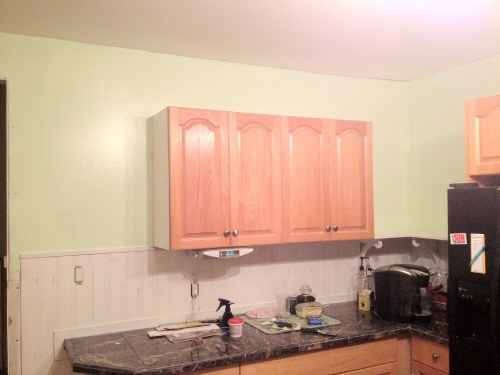
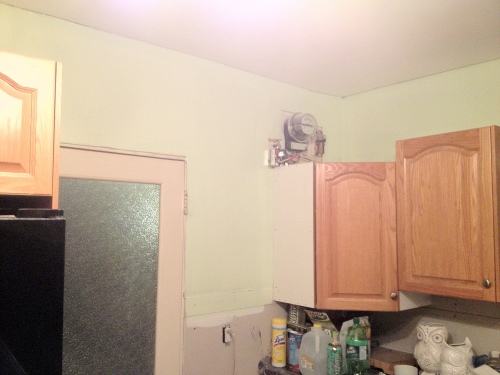
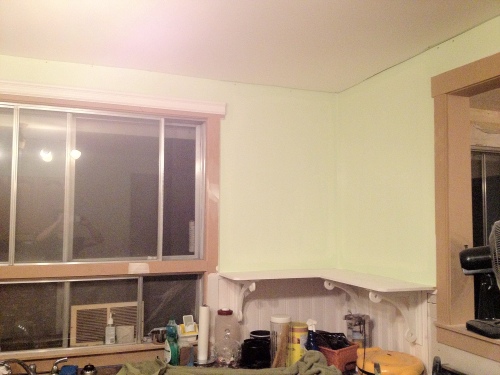
Looking more like a kitchen part 3
Making your own crown moulding from scratch
Finally back at the kitchen again!
It’s been a busy summer so far, but i’m determined to get this kitchen done before the kids go back to school.
Ideally to have the dining room and living room done before thanks giving, so we can have family over!
So this past weekend was back on wood work in the kitchen.
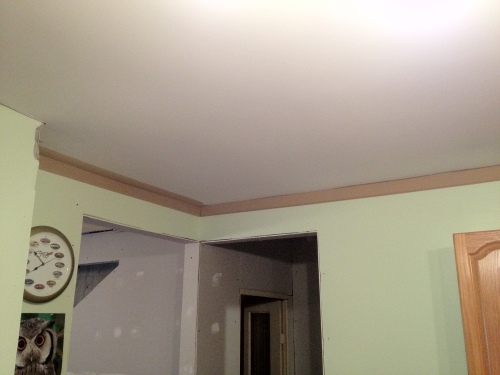
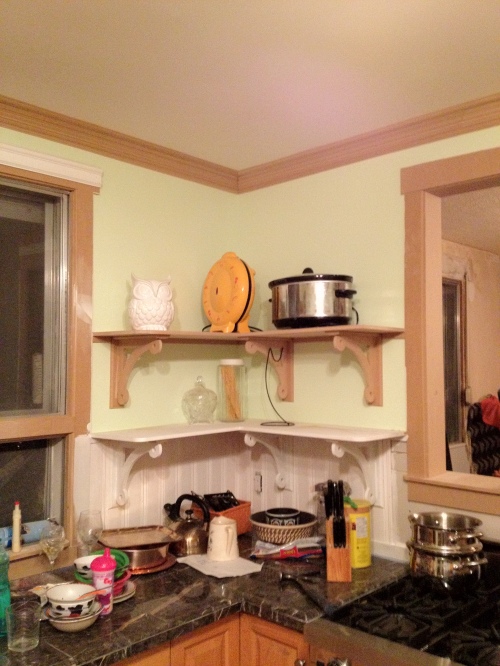
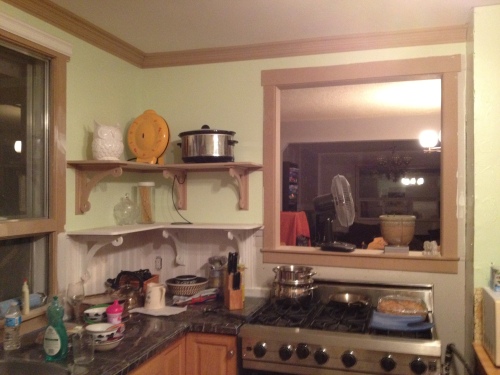
Crown moulding was the project!
I’m not a fan of buying crown moulding at $999 per linear foot (yes that’s an exaggeration). I definitely didn’t want to put a baseboard upside down as a poor mans crown.
I decided to build it on site!
For this, you all need to know, all of the crown started off as 2 sheets of 8×4, 1/2″ mdf. Actually 99% of the trim is made in my garage.
I bought a new router tip with a bit more curve than the one I used for the windows. This is the beginning of building crown.
The walls and ceiling are terribly uneven and crooked. Building a crown seemed to be the best way to make it all work.
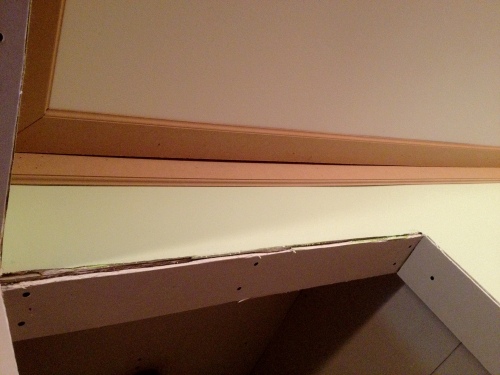
I started with a 3″ wide piece along the wall, of course with the routed edge.
Then the same 3″ piece on the ceiling.
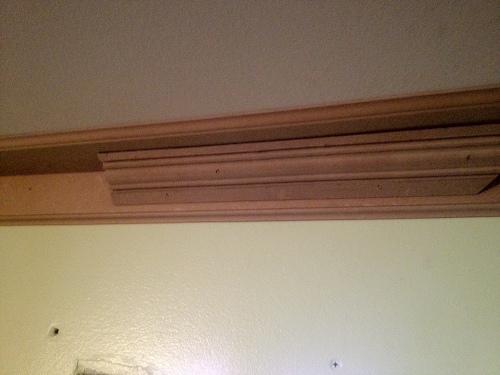
I tried adding another layer and a center piece,….
It looked UGLY! I thought it might’ve been a good idea, but I hated it!
I was about to reluctantly spend more money on a long router bit for making trim, when Steph suggested I ask her family.
Turns out her dad had a bit that would work beautifully for the trim I wanted to make.
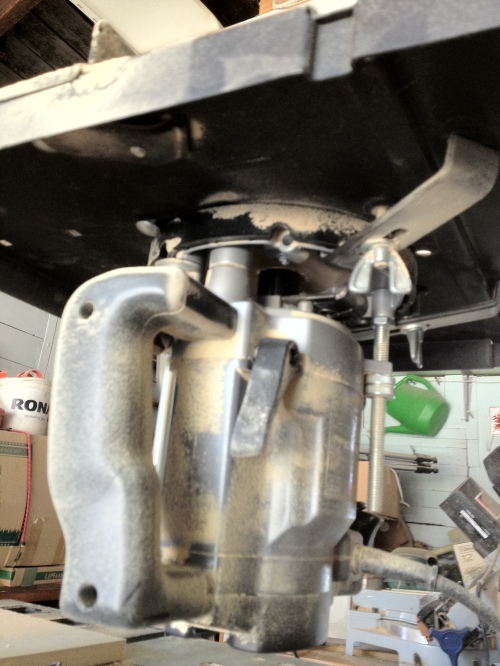
The bit was made for a router with a bigger end. Stephs dad (Steve) let me borrow his router. The plan was to use my router table.
That plan failed. Steve’s router won’t fit the table. I was about ready to drill holes in a work bench to fit the router, when I remembered finding a cheap universal router table in the basement of the house when we moved in.
Sure enough, it was hiding under the stairs.
No mounting holes required, this cheap table used clamps! Perfect!
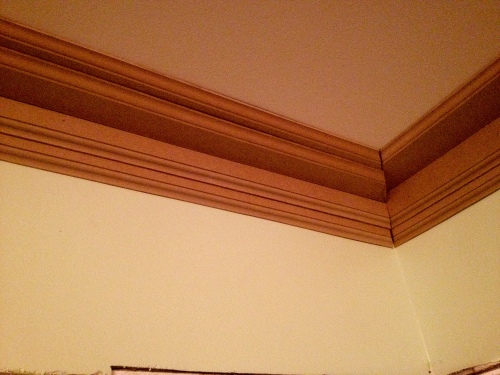
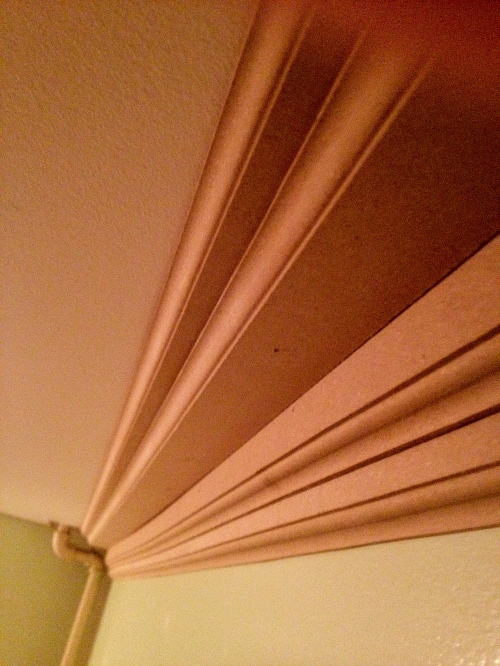
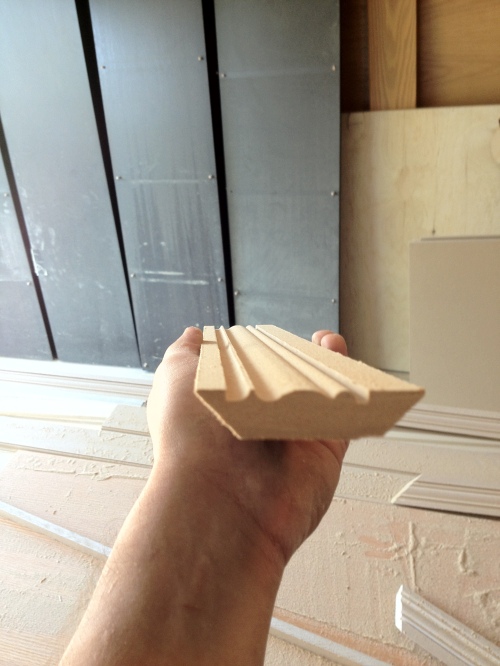
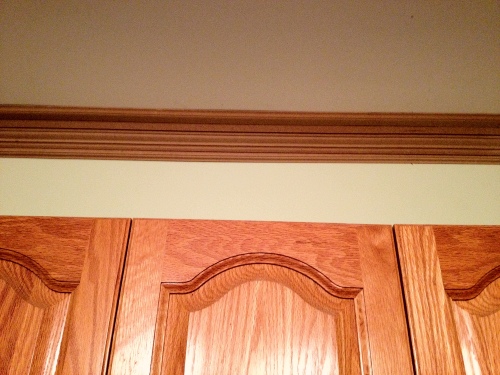
Now onto making the middle part (yes, I removed the second layer and center piece).
I cut a 2.5″ strip of mdf, then used the fabulous trim router for it. A bit more difficult to keep it even. I don’t think I ever had a perfect 8′ run. Best I had was about 7′.
After the face detail was completed, I put a 45 degree cut on both the edges of the back side.
I did a tester first. It was upside down.
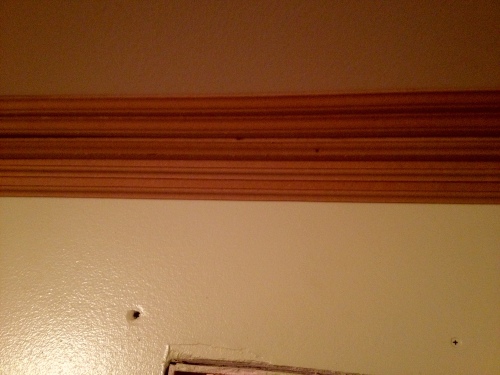
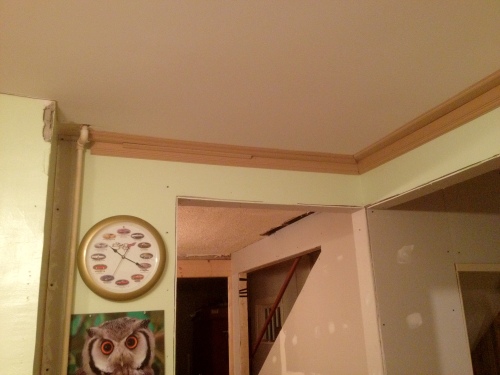
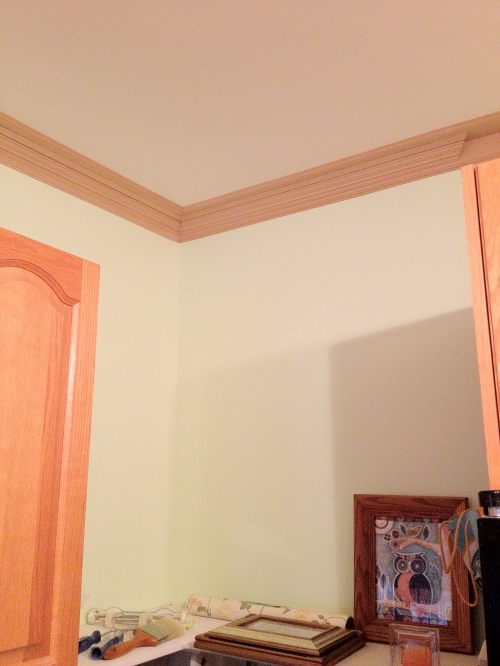
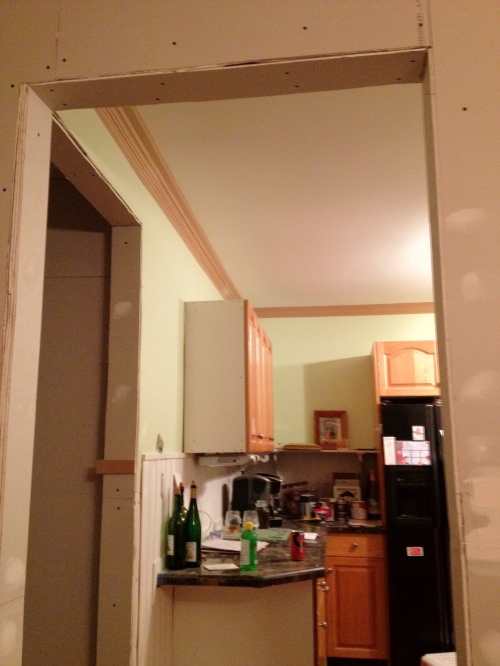
Then I went to town and finished the room.
My mitered corners are far from perfect. No help to the uneven/unsquare walls/ceiling.
Caulking and dry dex will be my best friend for prepping the trim for paint.!
After that I completed the second shelf beside the stove. Our original plans were to have 3 shelves, but I think a 3rd would be too much.
Not much else is left for trim work now.
Oh, we are not putting a hood fan in. I’m going to custom build a fan for the back of the stove, just under the pass-through.
That will be another blog post much further away.
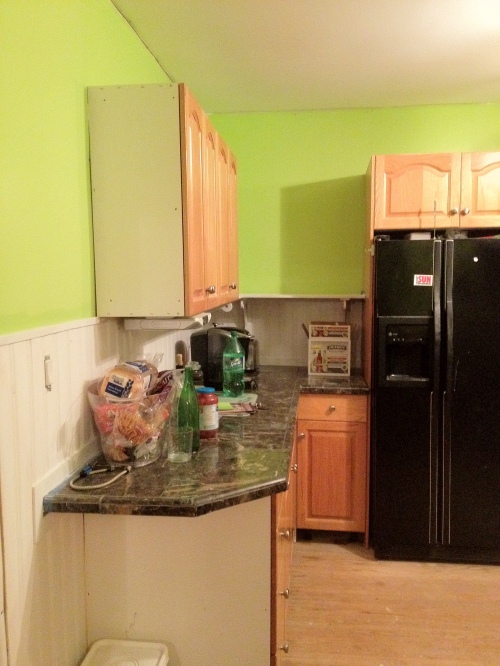
Hopefully next weekend I can finish the rest of the kitchen trim, shelf beside the fridge and prep it all for paint.
Need to clean out the sunroom area so we can use that space to paint the cabinet doors.
FYI: CIL makes a water based melamine finish, low VOC, low odor, all-in-one paint and primer specifically for painting cabinets?
I bought a small can to test and see how it turns out.
Till next time my friends, stay thirsty

