The house that Kijiji built

An adventure renovating a home on a dime

Month: June, 2012

Looking more like a kitchen part 1

Wainscot:

The term wainscot (pronounced UK: /ˈweɪnskət/, US: /ˈweɪnskɒt/, US dict: wān′·skət, wān′·skŏt) originally applied to high quality riven oak boards produced in medieval Poland and adjacent areas and exported to many parts of western Europe. Medieval German wageschot or ‘wall-board’.

Bead board: is a board manufactured to look like wainscot. All on a larger panel instead of individual tongue and groove pieces. Panelling.

Panelling is a wall covering constructed from rigid or semi-rigid components. These are traditionally interlocking wood, but could be plastic or other materials.

Panelling was developed in antiquity to make rooms in stone buildings more comfortable.[citation needed] The panels served to insulate the room from the cold stone. In more modern buildings, such panelling is often installed for decorative purposes. Panelling, such as wainscoting and boiserie in particular, may be extremely ornate and is particularly associated with seventeenth and eighteenth century interior design, Victorian architecture in Britain, and its international contemporaries.


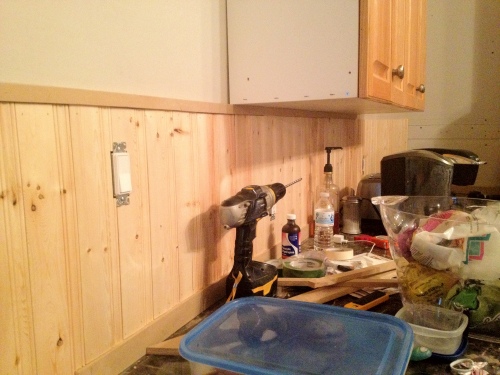
The plan we had decided was a bead board style backsplash for the kitchen.

I looked for bead board and it is quite expensive. I was shocked actually.

A 32 sq/ft sheet of bead board (8×4) is $57 – ouch!

I found smaller packs and cut sizes, 7 sq/ft for $8. Only in shorter lengths though.

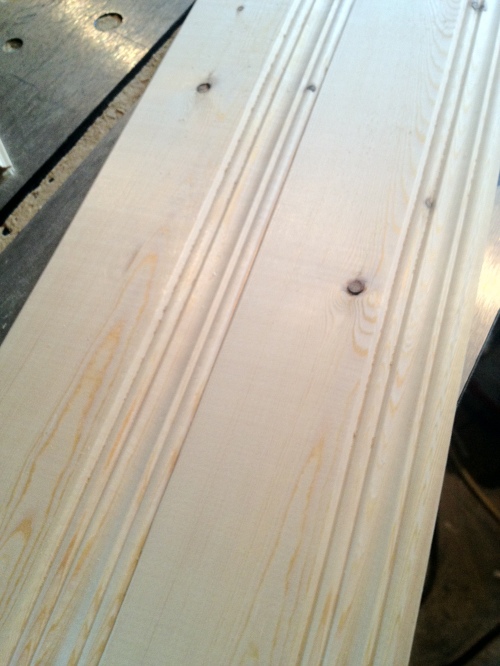
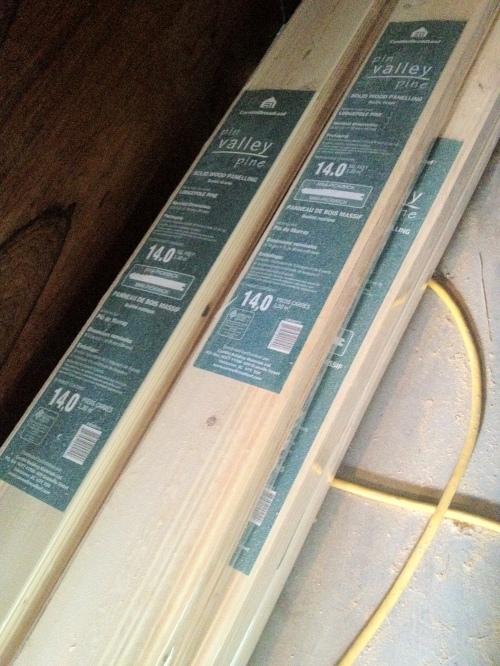
I cruised around the hardware store and I saw the tongue and groove pine panelling. A couple different styles. There was one style that I liked, that has more lines than a plain tongue and groove panel.

20120610-230503.jpg

The sale: 14 sq/ft, in 8ft lengths. Reg price $9 a pack. Marked down to $6.50/pk and to top it off. There was a
Big sale for that day I went. An additional 15% off any product to a maximum of 15 pieces/packs.

So 14 sq/ft was approx $5.50

What a deal. I only needed about 4 packs, so I bought 8, lol.

We have our back splash material, now it’s time to put it all together.

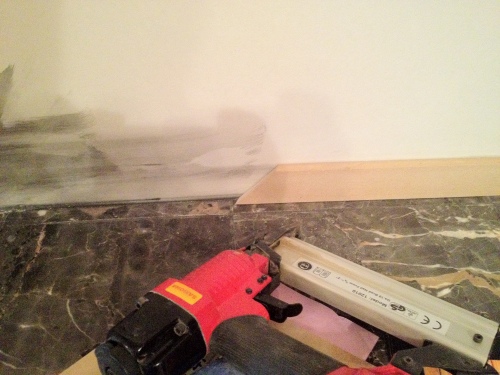
20120610-230525.jpg

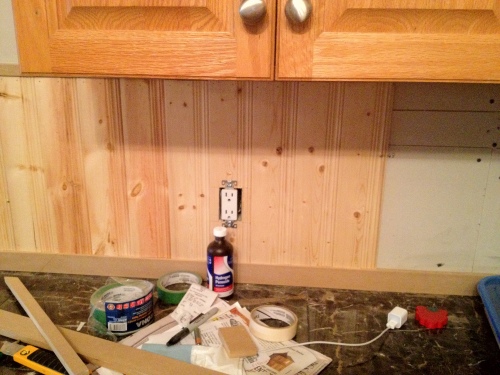
20120610-230539.jpg

If you go back to some of the older posts I made, you will see some of the styles I put up that I liked.

Another material I used for the back splash is 1/2″ mdf.
Mdf is very easy to work with. I had lots left over sitting in my garage from a project I did over a year ago.

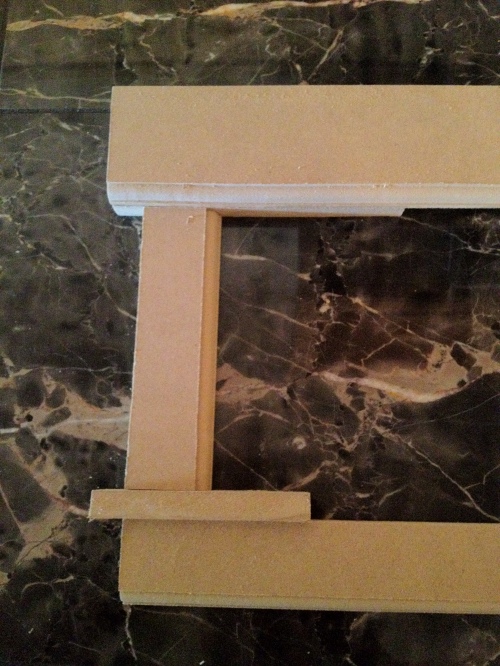
My original plan was to use this mdf to make our own trim.

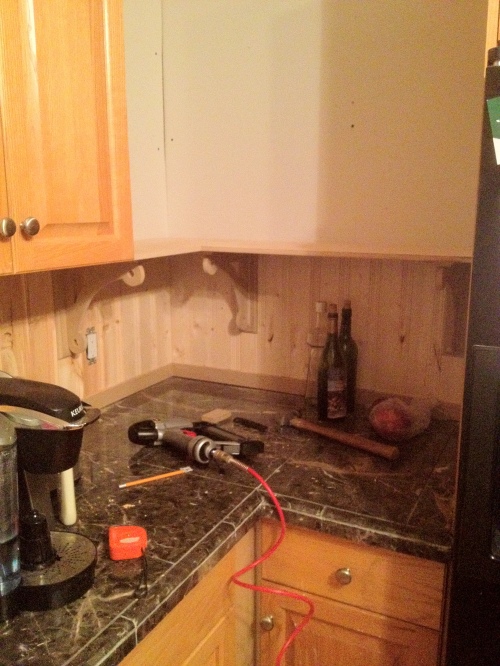
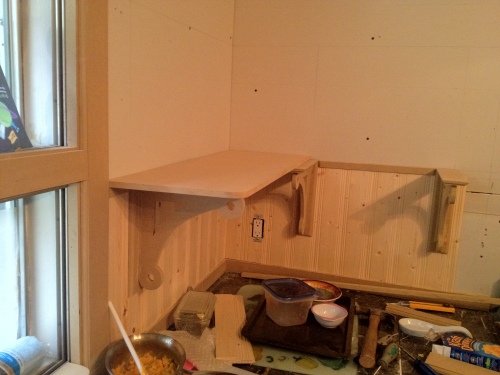
The foot of the back splash will be a 2″ strip, then the pine panelling and a 1″ strip on the top to finish it off.

20120610-230550.jpg

First I did the left side I the kitchen. Because there are no major appliances other than the fridge, I look at it as the prep area.

20120610-230608.jpg

20120610-230620.jpg

20120610-230647.jpg

20120610-230700.jpg

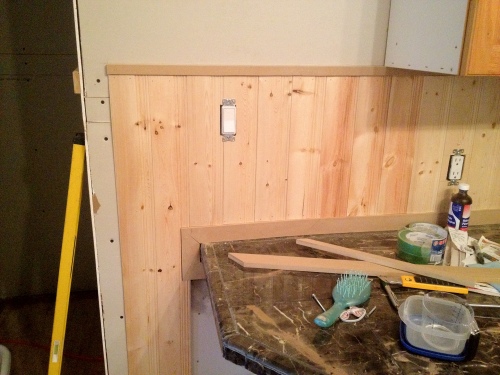
Then I worked on the stove side.

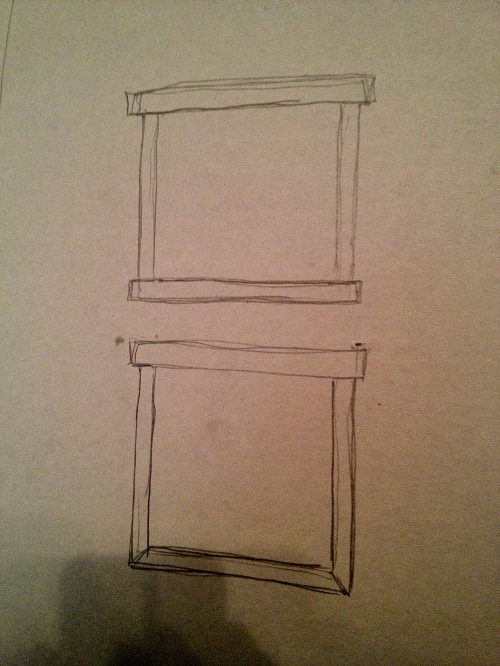
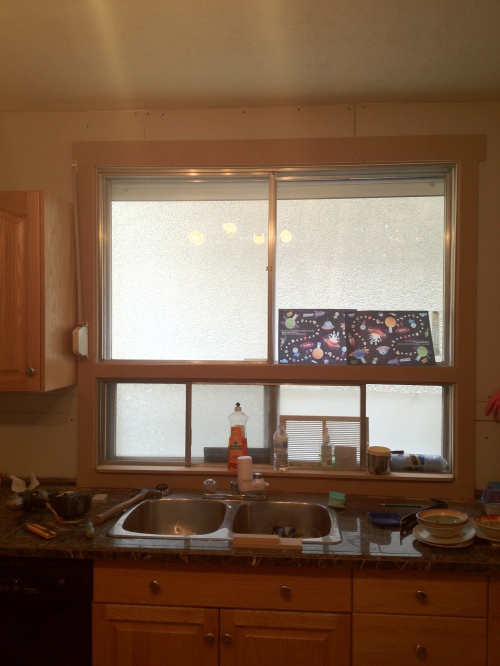
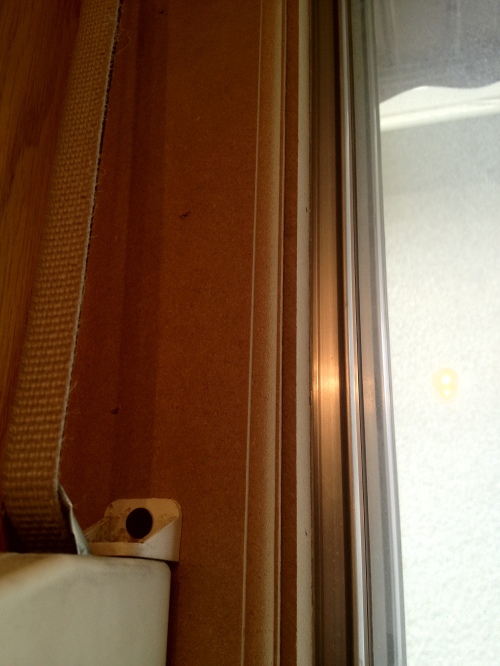
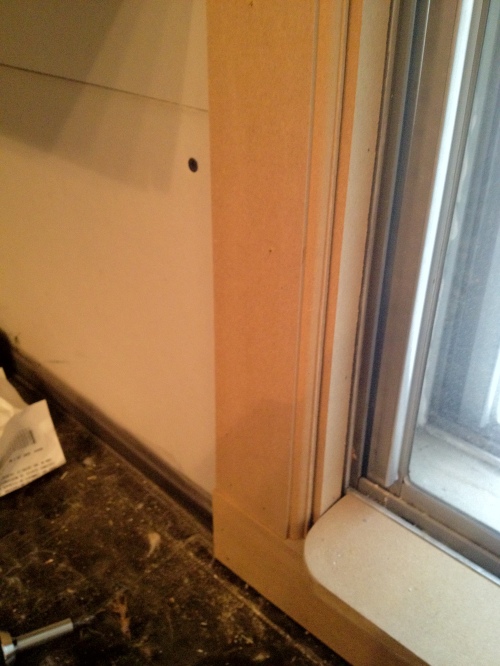
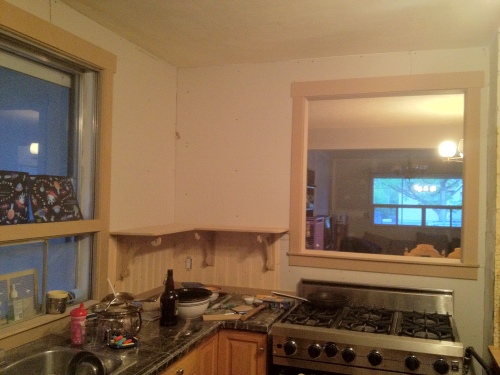
In order to do the stove side, I had to trim out the window and the pass through.

I had an idea of what I wanted to do, seemed a little plain.

20120610-230720.jpg

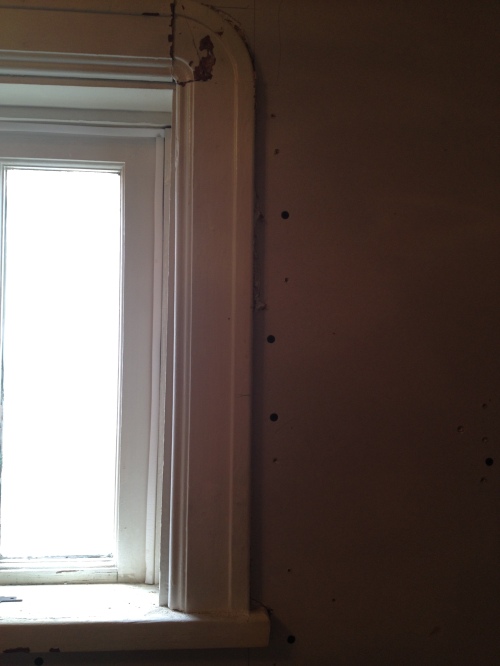
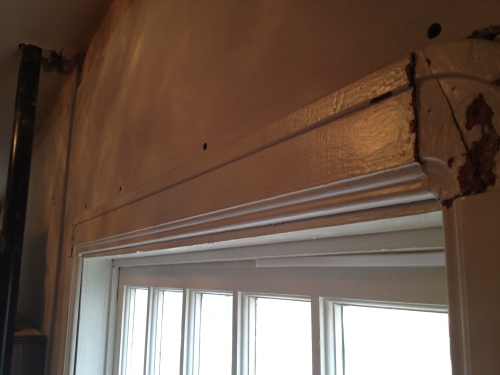
I remembered the one window left in the house that still had the original window trim.

20120610-230751.jpg

20120610-230800.jpg

I pulled some inspiration from there and came up with a likable design.

20120610-230810.jpg

20120610-230829.jpg

20120610-230839.jpg

20120610-230849.jpg

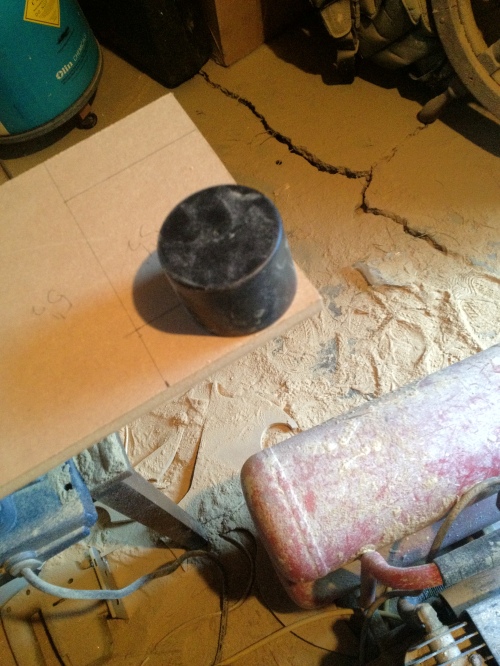
On the shelves, I rounded the corners. I used the top of a spray can to trace the round corner and cut with a jig saw. Sanded smooth and we have a nice round corner.

20120610-230903.jpg

20120610-230913.jpg

It’s far from being finished, imagine it all painted white, even the cabinets.

20120610-230922.jpg

20120610-230929.jpg

We have decided to put new drywall on the ceiling now. This will give us an almost perfectly flat ceiling. Also opens up the option for crown moulding in the future.

Next step after that is to finish tape all the drywall, install the rest of the shelves, paint the cabinets and paint the walls!

This is just one more step closer to a finished kitchen!!
Invisible

20120609-092559.jpg

An invisible man married an invisible woman.

20120609-092607.jpg

Their children were nothing much to look at either.

Marble tile kitchen counter part 3

Just when you all thought it was finished, I come back with another post about it!

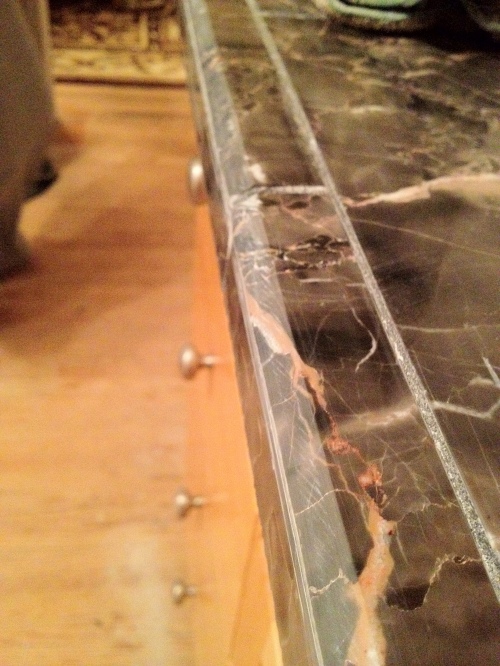
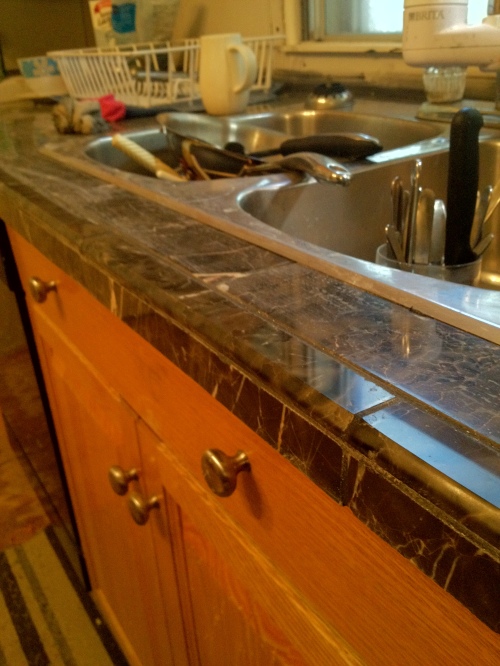
We weren’t happy with the 45* edge I had cut. It was liveable but far from a finished looking product.

We tried sealing the edge to see if the marble viens would show better – no.
We tried some varathane – no.

20120607-170907.jpg

What could we do?

Do what the pros do with massively large marble slabs – polish it!

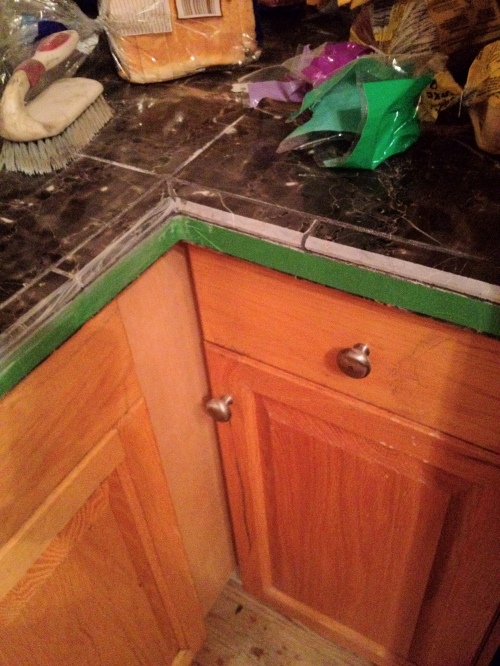
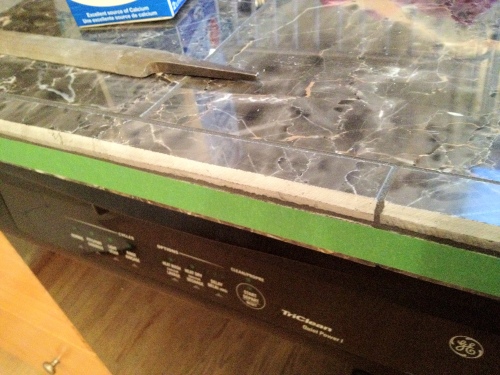
I had a plan of attack,.. First I taped the edge piece to protect it.

20120607-170924.jpg

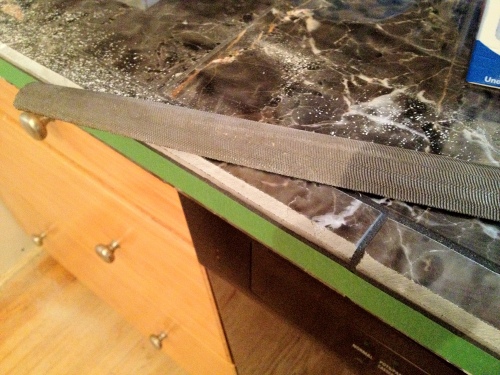
Then I grabbed a medium bastard file,… Yes I said bastard, and filed the really rough spots.

20120607-170957.jpg

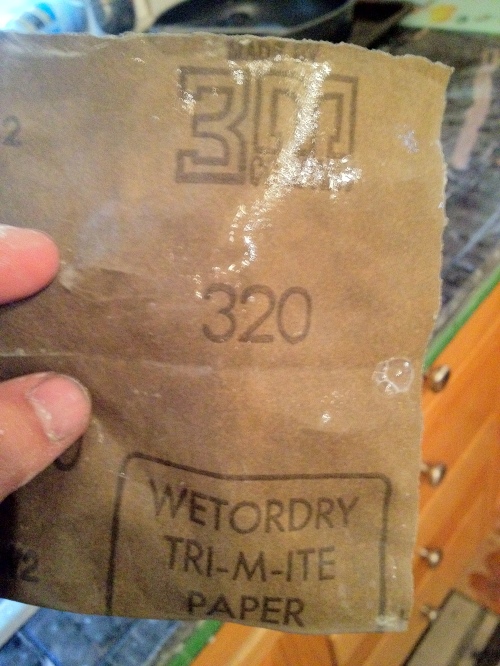
I remember looking the basement and finding some wet/dry sand paper a long time ago. I went down and bingo! 320 grit. This should be good enough.

20120607-171014.jpg

I spent about an hour wet sanding the edges. This didn’t turn out so bad.
No sheen, very dull, but we could see the marble viens better.

20120607-171044.jpg

20120607-194924.jpg

What can I do to make it better?

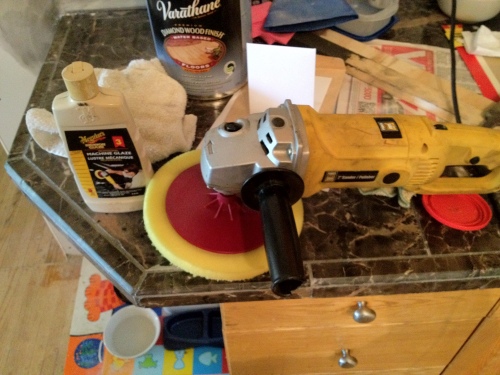
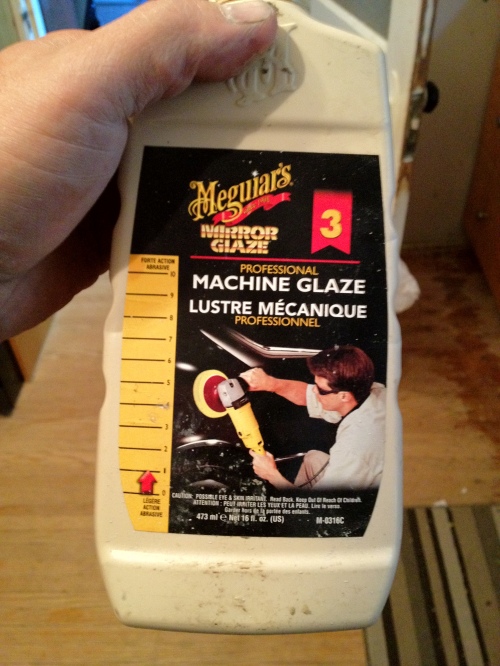
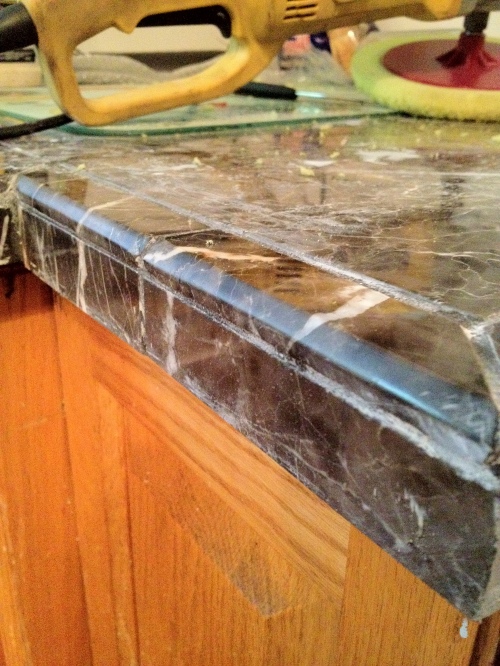
I rummaged through the garage and unpacked my car polisher and machine glaze polish.

20120607-171112.jpg

20120607-171123.jpg

Perfect!

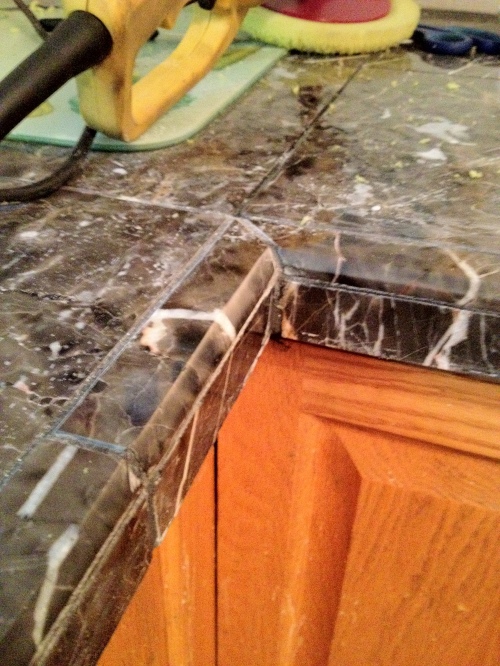
I polished the edge and a bit of a sheen appeared!

I am very happy with the results.

20120607-171142.jpg

20120607-171153.jpg

20120607-171202.jpg

If I were to ever do anything now to make it shinier, I would use a 600 grit or a 1000 grit wet sand and polish again.

But I do t have any of that paper and I’m happy with the results.

Hope you all can take something from this and make a fabulous marble tile counter top too!

Marble tile kitchen counter part 2

The first counter completely grew in me.

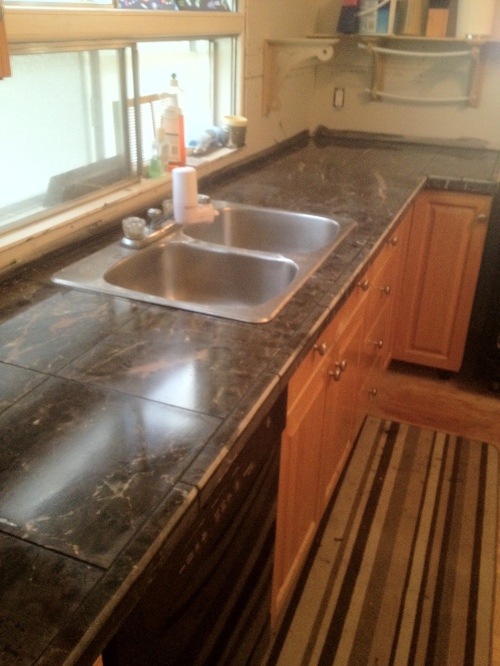
I will tell you that I really am not a fan of tile counter tops, but there is something about this black/brown marble that just captivates me. Actually I think any kind of marble really excites me. Granite doesn’t get me as excited as marble.

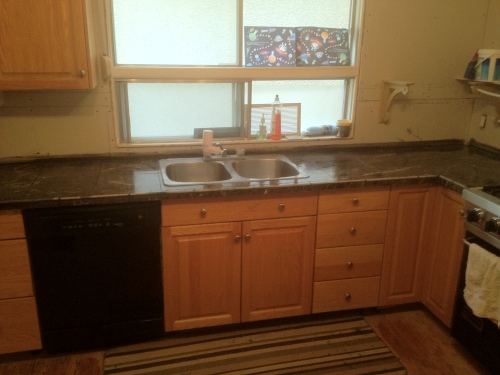
So now it’s time to finish the rest of the counters; keep some sanity in the home.

No more plywood counters!!
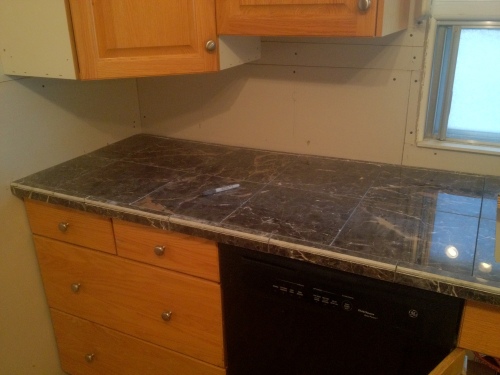
First it was just cutting all the pieces.
Then install the edge and then remove the sink.

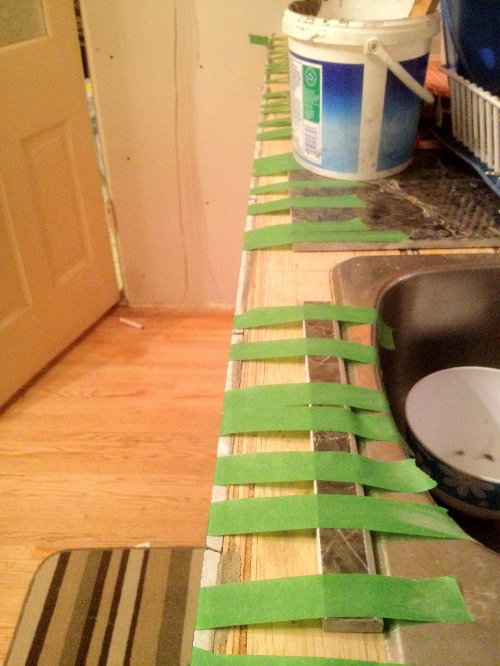
Again, I started with the edge of the counter the night before.

20120605-002930.jpg

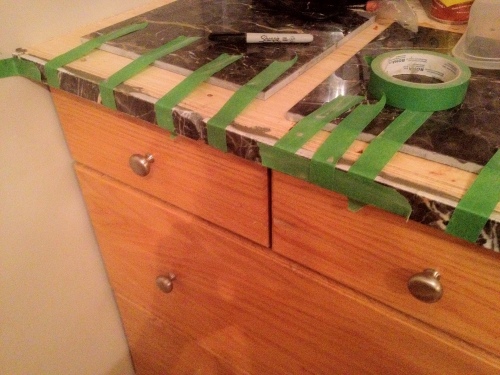
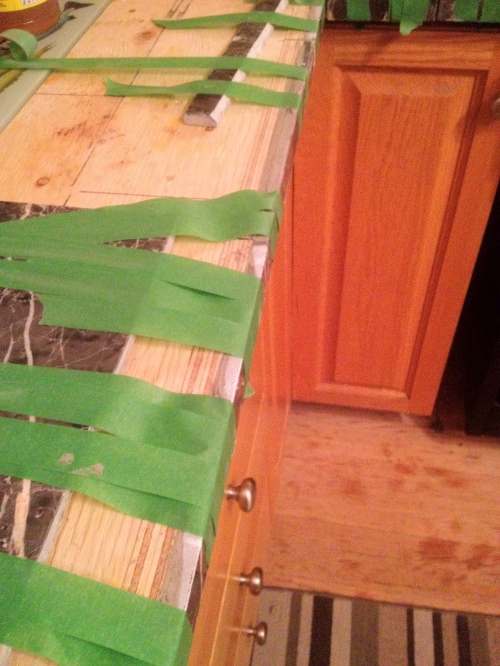
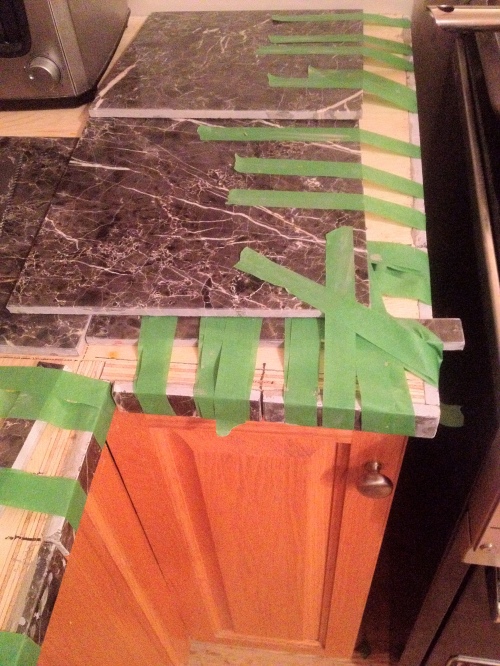
Yes I taped them. To make the tiles sit right I placed a tile on the counter to tape to. If I taped directly to the plywood, the tiles would slowly slip. I needed some leverage. With a tile on the counter, that gives just enough height to keep the tiles I’m installing where they need to be with tape.

20120605-002941.jpg

20120605-002916.jpg

20120605-002900.jpg

An easier way would have been to tack a piece of wood on the bottom of the edge to create a ledge for the tiles to rest on. I honestly didn’t think of it till after all the edge tiles were on, lol.

I guess I should explain the plywood counter.

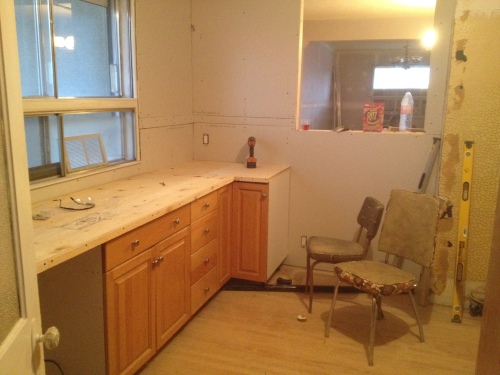
After we placed all the cabinet boxes, I put on 8′ strips of 3/8 ply cut in 6″ widths.
One on the back, one on the front and one in the middle. This gives something for the 3/4″ plywood top to screw to, and also gives the countertop a good thickness.
The 3/4″ plywood was cut in a 25″ width. I then cut 1.25″ strips from the left over 3/4″ ply to use as an counter edge/reveal. This made the counter top 25.75″ deep with a 1.25″ edge.

I’m sorry I don’t have any close up pictures of the plywood counters during install.

20120605-003100.jpg

When installing the tile, I did the same as previously.

20120605-002827.jpg

20120605-002813.jpg

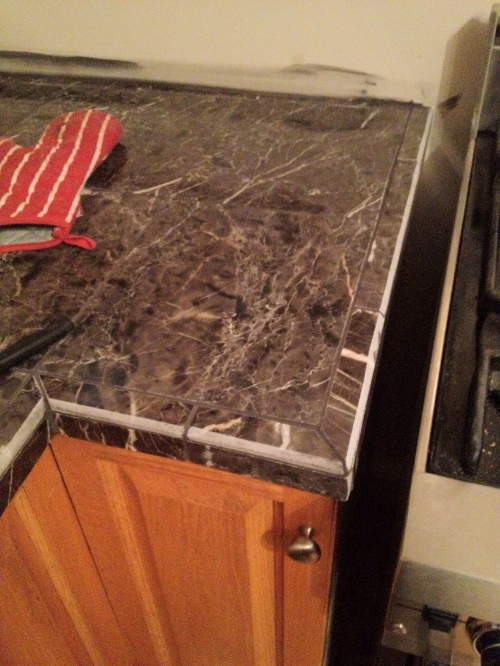
Beside the stove we had a small dilemma on how to finish it.

Either just ‘end’ the tile as if the counter was just cut right there, or trim it with the border tile I’ve been cutting.

We decided on bordering it and I’m glad we did.
I dry fit some tiles as if they just ended and it felt incomplete.
With the border, it feels complete.

20120605-002710.jpg

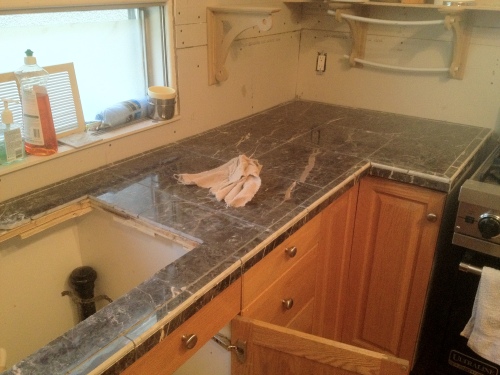
After I put the tiles is, grout was next and then to reinstall the kitchen sink.

20120605-002759.jpg

20120605-002745.jpg

20120605-002731.jpg

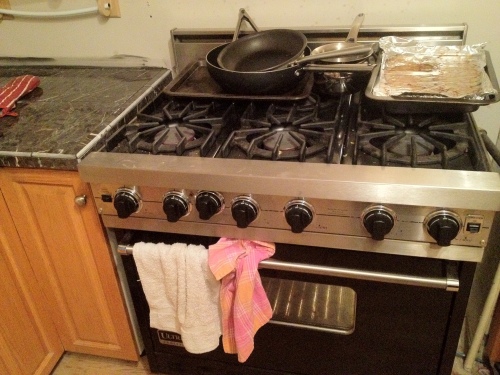
It really doesn’t matter how the edge was done beside the stove as the stove is the show stopper for the kitchen.

20120605-005242.jpg

Next project – backsplash

Shrink wrap

A guy walks into a psychiatrists office wearing shorts made of Saran wrap. The Shrink says “well, I can clearly see your nuts!”

20120531-180552.jpg